How to plot a GPX
You will find at the bottom of the page, the printable pdf file of this tutorial.
Definition
GPX (GPS Exchange Format) is a file format for exchanging GPS coordinates. This format is used to describe a collection of points that can be used in the form of waypoints (waypoints), traces (tracks) or routes (routes). This format is open.
You can open a GPX file in a text editor, and you'll get something like this:
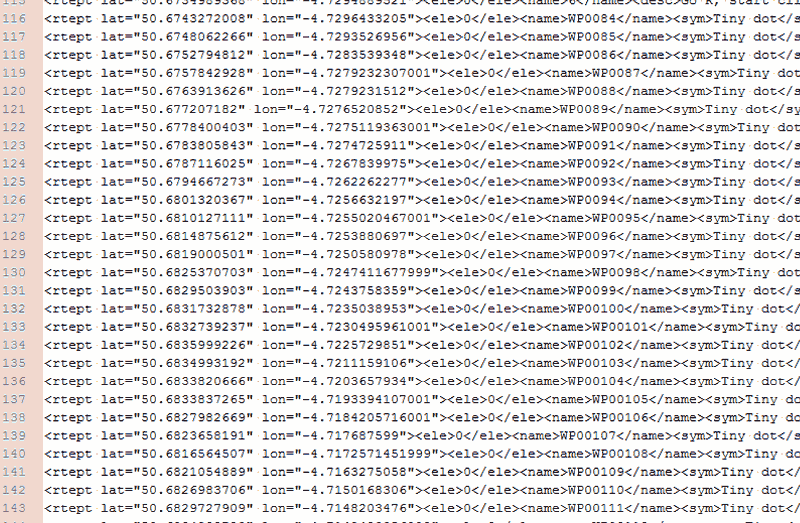
Although it sounds complex, this is a list of the exact locations, in order, that can be used to generate a route for hiking, biking, or any other activity. This road can then be placed on top of a map to indicate a route to follow. The GPX file does not need to be opened with an editor, it is automatically managed by mapping utilities capable of displaying them: Googlemaps, Cirkwi, IGN Espace loisirs, etc.
Creating a GPX with a mapping application
If you are using a mapping application such as Google maps, Cirkwi, IGN Leisure area you can use or create a GPX file.
To create the layout of a circuit, we will take the example of Googlemaps, the other software using the same logic, with slightly different tools:
- Step 1: First you need a google account, to save the map.
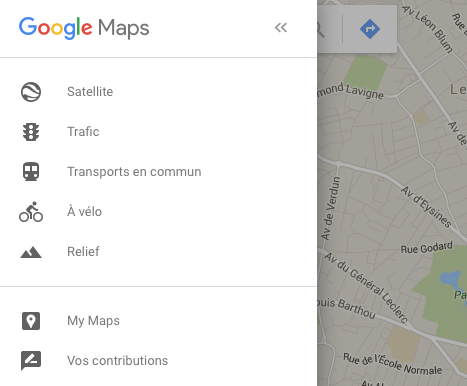
- Step 2: Click on the three small horizontal lines at the top left to display the menu and click on "my maps».
- Step 3: At the bottom of the page, click on "Create a map". A page opens on the map of France. In the search engine, type the name of the municipality concerned by the circuit.
- Step 4: Click on "untitled cardto change the map name.
- Step 5: Zoom in on the geographical area of your circuit and find the starting point.
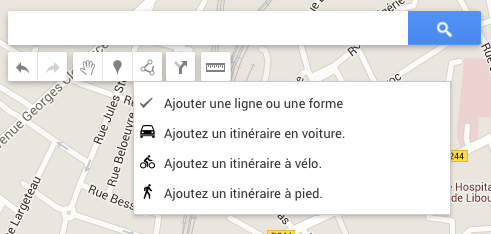
- Step 6: Click on the "trace a lineto start making the circuit. Depending on your needs, select "route by bike or on foot" (a route that will automatically follow the roads in google, but quite randomly when hovering over the mouse along the route depending on the amount of roads available in the area), Where "add a line or shape(much more precise, even for the bike, which allows you to pass on dirt roads or through plots of land not referenced as a road on google).
- Step 7: Start drawing the circuit, point by point (no matter how many). An “untitled layer” is created automatically, this will store all your tracks and other information like POIs (points of interest).
- Step 8: Once finished, no need to close the loop by clicking on the origin point (otherwise it creates a polygon). Justpress the "enter" key and not "ESC" (it deletes the traced circuit).
- Step 9: If you make a mistake while drawing the circuit, you can always go back to the previous step by clicking on the arrow on the far left "cancel".
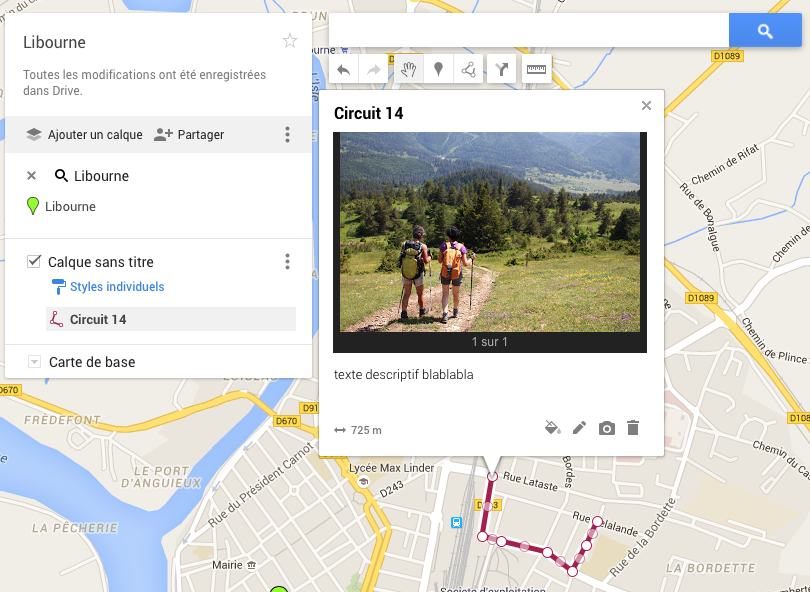
- Step 9: You can rename the line, change the thickness of the line and its color, add a description, a photo and see its length (under the photo).
- Step 10: From this step, you can recover your file.
Warning ! Note that the file provided by Googlemaps is not a GPX, but a KML (we forget the KMZ format which is identical but compressed). Don't panic, you will be able to transform it into GPX, it's just an "improved" file format, where we will be able to add POIs.
Note, however, that KMLs can also be entered on the Sirtaqui Route slip, and that it responds well to user requests (since it is well informed, there are POIs). But the GPX track is mandatory for display on the ItiAqui application. The two files are rather recommended to create to have a quality sheet. The amount of handling and labor is negligible.
- Step 11: Transform your KML into GPX.
Several ways to do it. The simplest is this site: http://kml2gpx.com
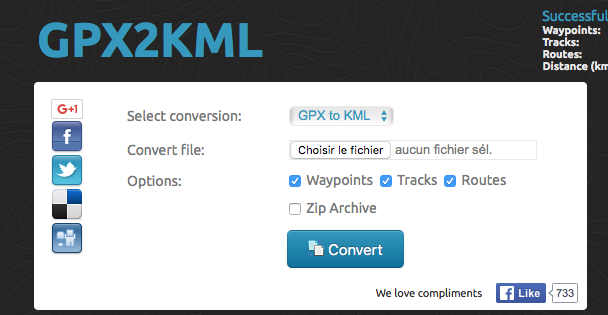
Choose the KML to GPX… option and click “convert”. You now have your KML and your GPX ready to be integrated into your ITI schedule.
We will go further... because it is important to add POIs to the circuit, and that in any case, it will be necessary to fill in the geocalizations in the identified field of the ITI slip, and yes!
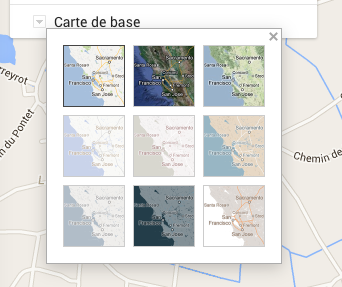
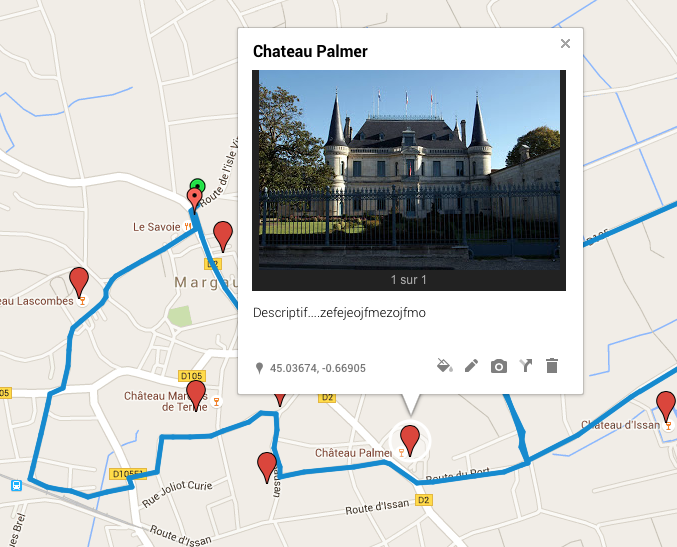
- Step 12: To add a POI, use the “add a marker” button (fourth button from the left). You place it on the map, for more visibility you can switch the map to "satellite" mode, in the left side panel, at the bottom.
- Step 13: On the same principle as step 9, you fill in the title, photo, description, icon, color... and you have geolocation information to fill in your fields in the ITI form.
Be careful, on googlemaps the latitude is first, the longitude (negative number) second…

Tip: The POI system can also be used for the “stages” of the ITI schedule.
Using a smartphone or GPS device
The recommended software is: MotionX GPS, available on Ios, windowsphone and Android (€1,99).
https://itunes.apple.com/fr/app/motionx-gps/id299949744?mt=8
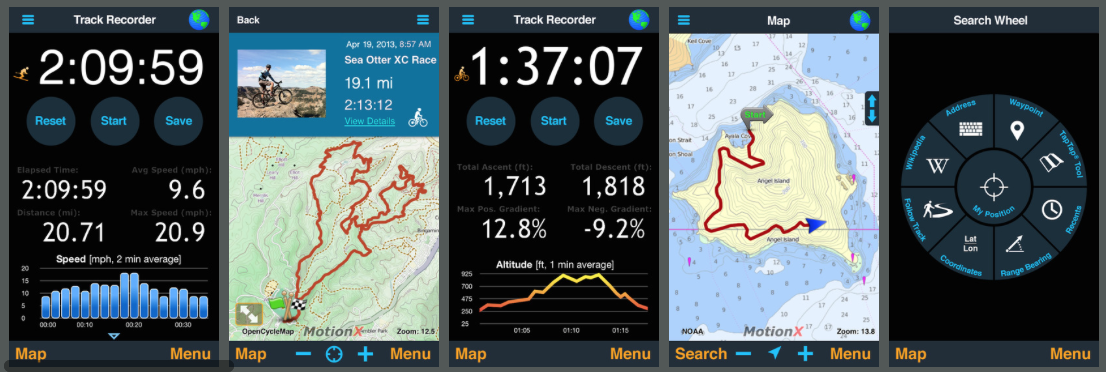
The logic is the same as for googlemaps, except that the device draws the circuit. Just turn it on at the start, do the loop, and turn it off at the end of the trail. The created file can be sent by email.
It can be imported on googlemaps, in order to add POIs.